I made a bunch of these last weekend, and I've gotten a few requests on how I made them. So I'll try to break it down.
First take a piece of card stock. You'll want it to be 2 1/2" x 4 1/2". This will require a little pre-planning, because before you punch and score, you'll want the DSP on the front already. So coordinate your card stock and DSP ahead of time. Cut your DSP to the same size and attach with adhesive. I used the SU glue stick to get even coverage-without buckling the paper.
when that is done, score it on the long side: 2 1/8" and 2 5/8"

Then grab your SU envelope punch board. On one side of the short end, punch it at 2" flip it over so the end that you just punched is at the 2 1/2" and punch again. This is what it should look like. You'll then repeat the same thing on the other side. The tab that is at the 2 1/2" side will then be trimmed off:

Place the mini post it note on the larger side. When you hold it closed, you'll see one side is slightly larger-this will accommodate the post it note pad and not stick out.

Then decorate. the larger side will be the side you will attach the post it note pad.
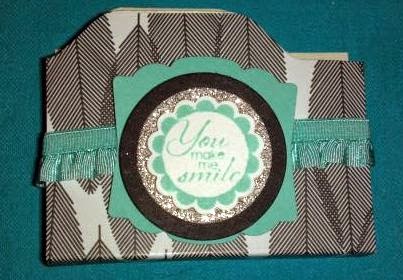
I hope you have found this easy to follow. It really is easy and you can make a bunch of them rather quickly.
Happy Stamping!!


